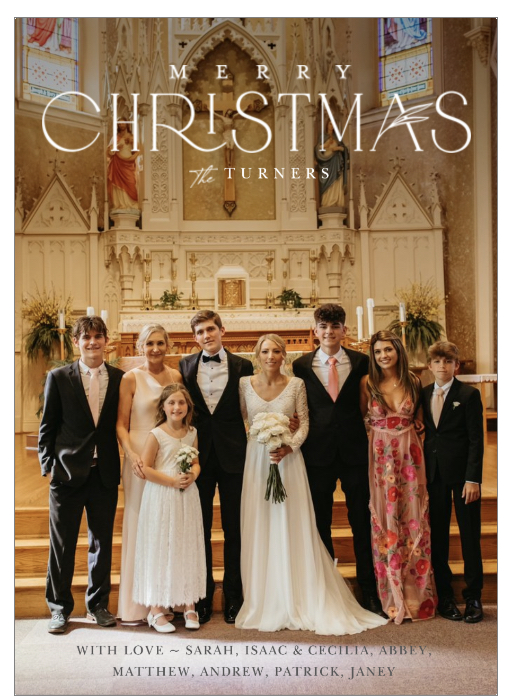
A letter to all of you, my mom's beloved readers and dear friends, from her daughter Abbey:
Sarah was born and raised in a “little house in the big woods” at the bottom of a long, steep hill and often shared stories of her childhood with us kids. She spoke of playing with baby dolls and picking buttercups down by the creek with her two sisters, doting on (and dressing up) her two little brothers, and sledding down the big hill during long Cleveland winters with her best friend, Renée. Her siblings and parents described her as sensitive and nurturing: a sweet, gentle soul who loved pretty dresses and her pet bunny, Myrtle. She lived very simply with her siblings and was proud of her upbringing - Her Mom, Patty, and her dad, Tom, worked hard to make ends meet. Our mom’s resilience, discipline, and work ethic all came from her parents. She was raised Catholic and was dedicated to practicing and passing on her faith to all of her children.
During her high school years, Sarah worked at Patterson's fruit farm and told us kids many stories of burning her hands on pies that came straight out of the oven. She also worked at the Chagrin Falls Popcorn Shop. It is only fitting that our mom always made the biggest bowls of popcorn with lots of salt and butter. Sarah nannied throughout her years at college, where she obtained a Bachelor's Degree in Communications and met our father and her former husband, Jeff, whom she was devoted to for almost 30 years of marriage. They married in 1993 and welcomed their first child in 1994. Sarah’s lifelong dream was to become a mother, and she adored her babies. She had five more children over the course of the next eighteen years. The same day that she dropped off her eldest son at college, she came home and gave birth to her youngest daughter that very evening.
Our mom was extremely organized and ran her home like a well-oiled machine. She loved her calendar, was never a minute late to anything, and felt that making a list could solve any problem (especially if it had cute stickers on it). Mom’s house was spotless. She practiced “less is more” and didn’t care to have many material possessions. She coined an organization method known as “40 bags in 40 days,” in which she would help her friends and family declutter and simplify their houses. She wasn’t afraid of hard work - or delegating Saturday chores for us children. Whether it was mulching the yard, cleaning the windows, or vacuuming the whole house in one afternoon - she got joy from checking off her to-do list.
Growing up, our mom had a home-cooked dinner on the table every night at 5:30 p.m. sharp, even during sports seasons, where she hardly missed a game for any of her four sons or two daughters. Spaghetti with meat sauce and homemade garlic bread was her favorite meal ever - we ate this once a week as kids. If you didn’t like what was for dinner, your choice was cereal or starvation. She made many family favorites (feta dip, meatloaf, calzones, and apple pie to name a few) and transcribed her most beloved recipes into a cookbook for us kids. She was an incredible baker and made the greatest chocolate chip cookies of all time. (Add extra butter, and take the cookies out a minute early!) We had no fears of consuming raw cookie dough in our house.
Our mom made every holiday special for us kids, and felt that traditions were very important. She would sew all of our Halloween costumes, and set a beautiful brunch for Valentine’s Day. She took us to pick strawberries every June, and took us to the apple orchard every August (Macintosh season) to get donuts before school started again. Our mom also loved making New Year’s Resolutions. All of us kids, including her many nieces and nephews, would line up with a note card in hand, ready for Mom to help us fill it out with colorful gel pens. She always gave the best advice, and if you didn’t know what you could improve on, she could give you some very insightful feedback.
Mom loved being outside, especially on hot summer days. She would wait as long as possible, until all of her children complained, to turn the air conditioning on in the summer. She also made the biggest ice cream cones you could imagine, and snuck them to the neighbor kids, even if their parents said no. She infamously believed that a suntan would cure any ailment - her home was her favorite place in the world, but Seaside, Florida was a close second.
She enjoyed riding her bike around our little town, and sometimes would put our family dog, Sammy, in her bike basket. She also took lots of walks. She would walk so fast, and if you wanted to join her you had to promise her you could keep up. She kept a small garden and made our backyard an oasis filled with ferns, hostas, and hydrangeas. She also loved storms of all kinds: blizzards that turned into snow days, cozying up on rainy nights, and she especially loved tornado weather. If we were all taking shelter in the basement, she was probably outside on the front porch enjoying the chaos.
Sarah was very artistic. She would paint murals on our bedroom walls when we were little, and loved working with many mediums. She was also a skilled photographer, and had an eye for interior design. In her brief time teaching art at the local Catholic elementary school, she quickly became a favorite of her students, who would look forward to her attentiveness, care, and structure. She would come home and tell endless stories about her students (her “kids”); which ones were naughty, and which ones she would absolutely die for. Some students fit both categories.
Sarah was a bookworm and loved historical non-fiction, especially stories of people overcoming hard times. She always had a deep appreciation for old things in general. An elderly couple’s love story, restoring antique furniture, and going to the estate sale of a house she always admired.
Our mother was not only a beacon of guidance but also the voice of unparalleled wisdom, the one whose advice could help navigate any path of life. She loved a good conversation, and had a witty (sometimes even dark) sense of humor. She kept her circle close, including her dearest book club girls. She surrounded herself with only the most genuine people. She was the shoulder to lean on during moments of despair and often the first person you would tell of an accomplishment because of the praise she'd offer. She made everyone who knew her feel seen.
We will always feel as though our time with our sweet mom was cut short. As she liked to say, “fair is a place where pigs win ribbons.” She never wasted time feeling sorry for herself through tragedy or through her battle with cancer, and made the most of every day.
Our mom always said, “Heaven is a good book on the beach.” We know you are enjoying the sunshine, Mom, and we can’t wait to see you again.